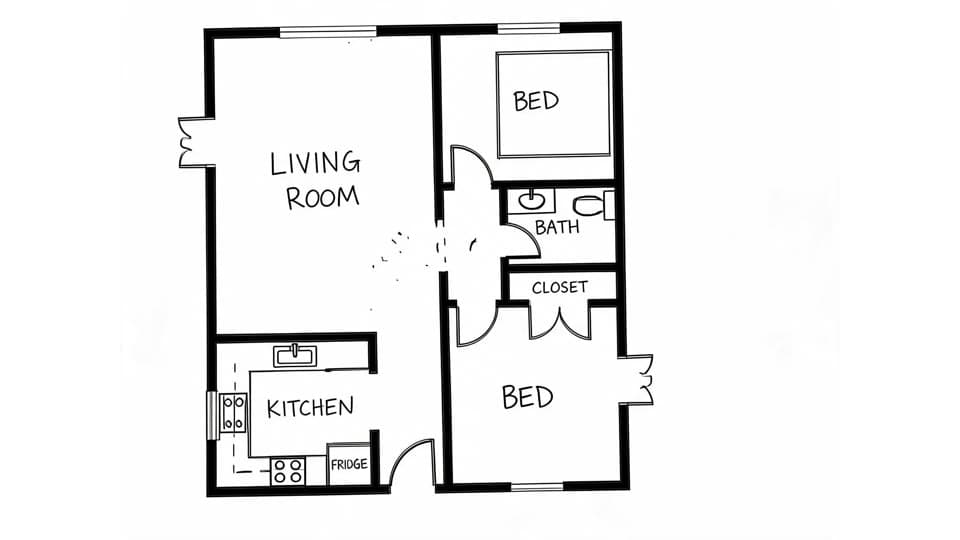
How to Draw a Floor Plan Step by Step (Free Guide)
Learn how to draw a floor plan by hand: measure rooms, sketch to scale on graph paper, add doors, windows and fixtures, then digitize your drawing.
You do not need drafting software or an architecture degree to draw a useful floor plan. A tape measure, graph paper and a pencil are enough for a clear, scaled drawing of a room, an apartment or a whole house.
This guide walks through the process in order, from measuring to finishing touches, and then shows how to turn your paper drawing into a digital plan.
What you need
- A tape measure (a laser distance measure helps for longer rooms)
- Graph paper, ideally with four squares per inch
- A pencil, eraser and ruler
- A notebook or clipboard for rough measurements
- Optional: a phone camera for reference photos
Step 1: Measure the space
Walk through the space and write every measurement down before you draw anything.
- Make a rough freehand sketch of the layout first. It does not need to be neat. It gives you somewhere to write numbers.
- Measure each room wall to wall, along the floor. Note length and width.
- Measure doors and windows, and record how far each opening sits from the nearest corner.
- Measure wall thickness at a doorway. Interior walls are often around 4 to 5 inches (10 to 13 cm) thick including finishes, and exterior walls are usually thicker, but real values vary, so measure yours.
- Check the total: add up the room widths plus the walls between them and compare with the overall outside measurement. Small gaps are normal. Large ones mean something was missed.
Measure twice. A wrong number now becomes a wrong wall later.
Step 2: Choose a scale
A scale lets one square on paper stand for a fixed real distance. The common choices are:
| Scale | Meaning | Good for |
|---|---|---|
| 1/4 inch = 1 foot | 1:48 | Most houses and apartments on letter or A4 paper |
| 1/8 inch = 1 foot | 1:96 | Large homes or whole floors on one sheet |
| 1:50 (metric) | 2 cm = 1 m | Rooms and homes in metric countries |
| 1:100 (metric) | 1 cm = 1 m | Larger buildings |
With graph paper that has four squares per inch, 1/4 inch = 1 foot means each square is 1 foot. That makes drawing very quick. Write the scale in a corner of the page.
If you need to convert numbers between units, the unit converter helps, and cm to feet is handy when your tape is metric.
Step 3: Draw the outer walls
Start with the outside outline. Use a ruler and draw a light pencil line at the correct scaled length for each exterior wall.
Then thicken the lines to show wall thickness. A simple way is to draw a second parallel line inside the first, at the scaled thickness. Keep corners square by checking diagonals when something looks off.
Step 4: Add interior walls
Mark where each interior wall starts and ends, using your measurements from the corners. Draw them with the same double line, slightly thinner if you like to tell structure from partitions.
Check each room against your notes. If a bedroom should be 12 by 11 feet, count the squares.
Step 5: Mark doors and windows
Openings are where most people go wrong, because the symbols matter.
- Doors. Leave a gap in the wall at the correct width, then draw a quarter-circle arc to show the swing. Interior doors are commonly about 30 to 32 inches (76 to 81 cm) wide, and the front door is often 36 inches (91 cm). Measure yours.
- Windows. Draw a gap in the wall with a thin double line across it. Mark the width from your measurements.
- Sliding or pocket doors. Use a gap with a line or dashed outline showing the sliding path.
Our guide to floor plan symbols lists the common conventions.
Step 6: Add stairs and fixtures
Draw stairs as a series of parallel lines with an arrow showing the direction up. Then add the fixtures that do not move:
- Kitchen: sink, stove, refrigerator, dishwasher
- Bathroom: toilet, sink, tub or shower
- Laundry: washer and dryer
Draw them at scale, not in approximate size. A standard toilet, for instance, occupies roughly 28 to 30 inches (71 to 76 cm) from the wall. If you plan furniture, add it last with simple rectangles.
Step 7: Label rooms and add dimensions
Write the room name in the center of each room. Add dimension lines outside the walls, with the measurement in feet and inches, or in meters or millimeters. Add the scale and a north arrow if it matters for light.
If you want to know room sizes quickly, the room area calculator turns length and width into area, and our guide on how to calculate square footage explains the rules.
Step 8: Review before you finish
Go back over the drawing and check:
- Do the room dimensions add up to the outside dimensions?
- Do all doors have room to swing without hitting furniture?
- Are windows placed where they actually are?
- Is everything labeled legibly?
Ink over the final lines, and erase the pencil guidelines.
Digitizing your hand drawing
Paper plans are great for thinking but hard to share or restyle. You can turn a hand drawing into a digital image in a few steps:
- Photograph the page from directly above, in even light, with the whole sheet in frame.
- Upload it to the sketch to floor plan tool, which reads your layout and generates a clean plan image.
- Use the result to share or present the layout. For a styled view, try floor plan rendering.
Keep in mind that AI output is a visualization. It does not preserve your exact dimensions, so keep your measured paper drawing as the source of truth, and do not use the generated image as a construction drawing.
FAQ
What scale should I use to draw a floor plan?
For most homes on standard paper, 1/4 inch = 1 foot works well. In metric, 1:50 is common. Use a larger scale for small rooms and a smaller one for large buildings.
Can I draw a floor plan without graph paper?
Yes, with a ruler and a scale converter. Graph paper just saves effort because each square already equals a fixed distance.
Is a hand-drawn floor plan accepted for permits?
Requirements differ by location. Many authorities want drawings prepared to specific standards, sometimes by a licensed professional. Check with your local building department before you rely on a hand drawing.
How accurate does my drawing need to be?
For planning furniture or getting a rough quote, a careful measured sketch is fine. For construction, a professional drawing based on a proper survey is the safer route.
When your sketch is done, upload a photo to the sketch to floor plan tool and see it as a clean digital plan.
Author

Categories
More Posts
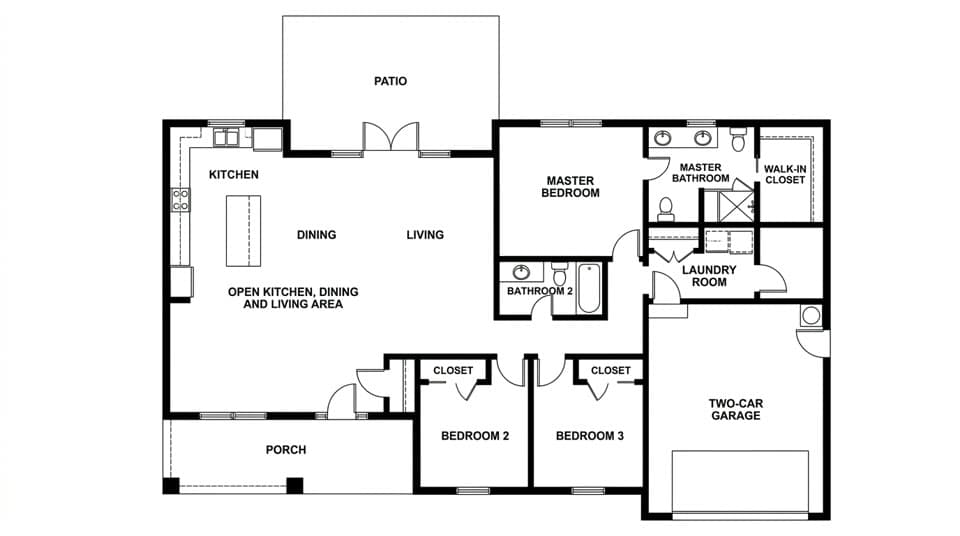
How to Calculate Square Footage of a Room or Home
Calculate square footage for rectangles, L-shapes and irregular rooms, see what counts in a home’s total area, and convert between square feet and m².
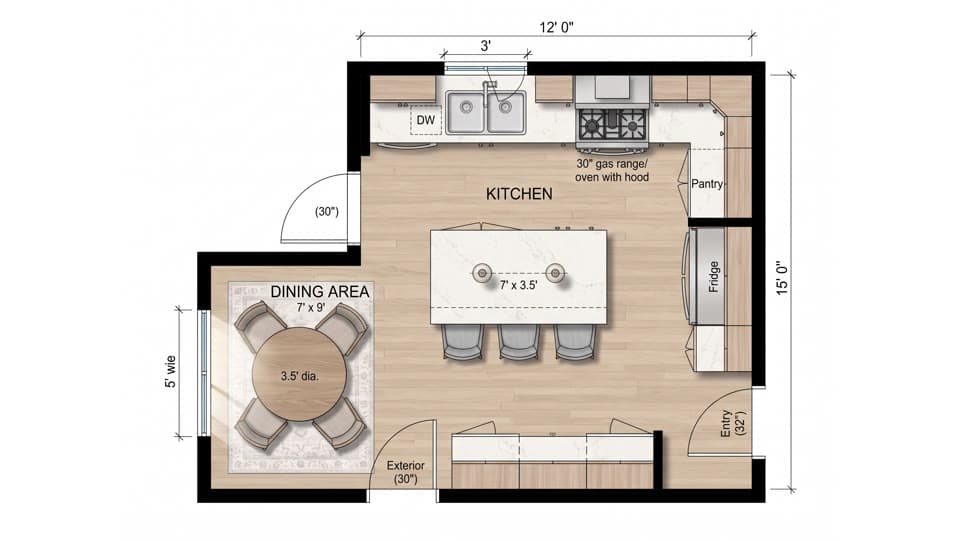
Kitchen Layout Ideas: 6 Layouts and How to Choose
Kitchen layout ideas for every room size: one-wall, galley, L-shaped, U-shaped, island and peninsula, with work triangle tips and common aisle clearances.
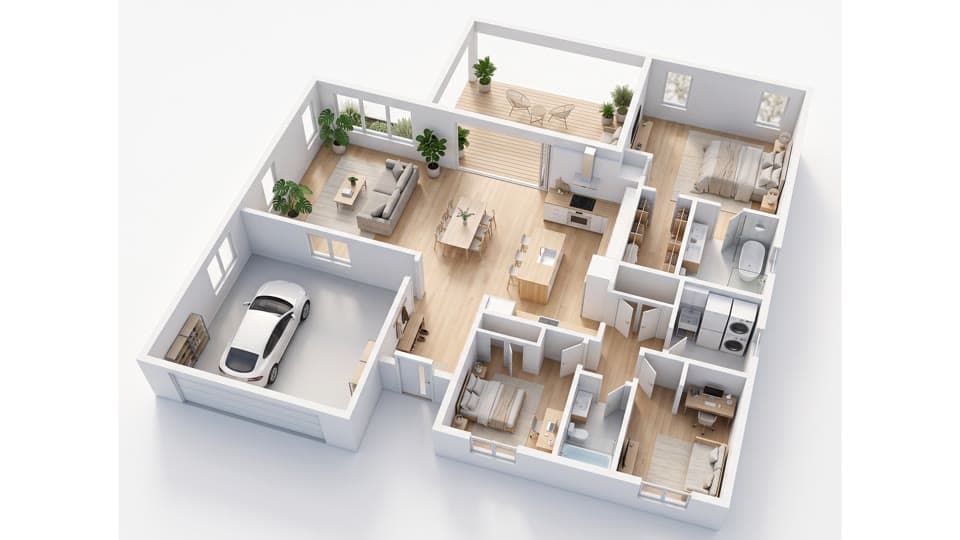
2D vs 3D Floor Plans: Which One Do You Need?
2D vs 3D floor plans compared: what each is for, who uses them, typical cost and turnaround, and how to pick the right one for permits, listings or clients.